

Do It Yourself Epoxy Flooring: Complete DIY Garage Floor Guide
Do it yourself epoxy flooring is a practical and affordable way to transform garage and workshop floors, but it depends heavily on proper surface preparation and correct application for long-lasting results.
That shiny garage floor you see in car displays and repair shops? It is epoxy, and you can do it yourself. With the right cleaning and a bit of time, a DIY epoxy floor is one of the best-value home upgrades you can make. Done properly, it will last ten years or more. Done wrong, it comes off within months. Here is everything you need to know before you start.
What Is Epoxy Flooring?
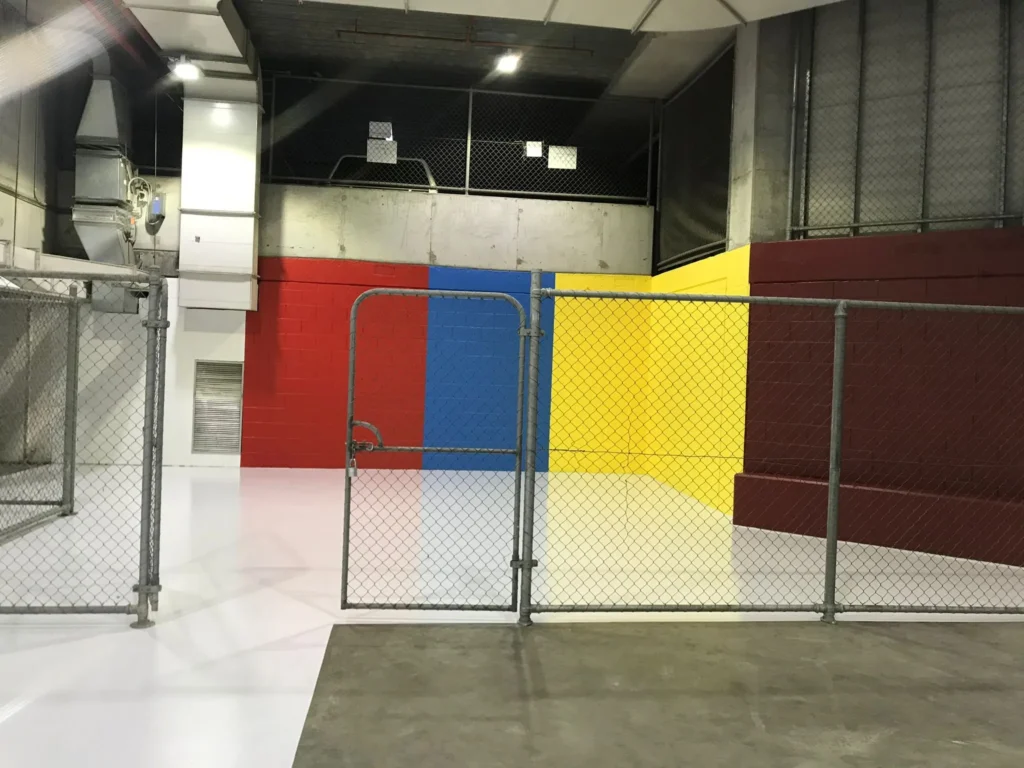
Epoxy is not paint. It is a two-part system, a resin and a hardener that chemically react when mixed, creating a rigid, plastic-like surface that physically bonds into the concrete. The result is hard, seamless, chemical-resistant, and visually striking. In South Australia’s climate, epoxy is an especially smart choice. It resists the fine dust common across the state, handles temperature swings, and does not fade under UV, provided you use a UV-stable topcoat.
Which Type Is Right For You?
Choosing the right type of epoxy depends on your experience level and the finish you want. Water-based epoxy is ideal for beginners because it has lower fumes, is easier to apply, and works well for residential garages. Decorative flake epoxy is the most popular choice for home use, as it adds coloured vinyl chips into the wet epoxy for better grip, texture, and a more attractive look. Solvent-based epoxy is stronger and more resistant to chemicals, but it requires good ventilation and proper safety gear like a respirator. Metallic epoxy offers a stunning 3D, high-gloss effect, but it is much harder to apply evenly, so it is usually best left to professionals.
Before You Start: Check Your Concrete
The number one reason DIY epoxy fails is not the product, but the concrete underneath. Epoxy needs a clean, dry surface with tiny open holes to stick to. Check these three things before anything else:
Moisture Test
Tape a piece of plastic sheeting flat on the floor and leave it for 24 hours. Water trapped underneath means you have a damp floor. Epoxy will not stick to it and will peel off within weeks. Fix the water issue first, or use a special primer that works on damp floors.
Sealer Test
Splash water on the concrete. If it turns into small drops, the surface is sealed or has an old coating—epoxy will not hold onto it. You will need to use a machine to remove the sealer before starting.
Surface Condition
Walk the floor and look for any cracks, holes, or oil stains. Oil soaks deep into concrete and may require three or more rounds of heavy cleaning before the surface properly absorbs water. Also, check if your floor has a smooth, machine-polished finish. If it looks almost shiny, a floor grinder is absolutely necessary, as washing it with acid alone will not be enough.
What You Will Need
Equipment
- Epoxy floor kit quality resin + hardener
- Concrete degreaser and stiff-bristle brush
- Diamond floor grinder (hire one around $80 to $150 for a half day)
- Concrete crack filler and patching compound
- 9mm nap roller, extension pole, and roller tray
- Squeegee or notched roller for spreading
- Painter’s tape and plastic sheeting
- Mixing bucket and drill mixer
Safety Gear Essential
- Half-face respirator with organic vapour cartridges
- Safety glasses and chemical-resistant gloves
How To Apply Epoxy: Step By Step
Plan for two to three days, one for prep, one for application, and curing time in between.
- Clear and degrease the floor completely. Scrub out oil stains thoroughly and rinse well.
- Grind or acid etch the surface to open the pores of the concrete. This is the most critical step; skipping it is the top cause of peeling.
- Patch all cracks and holes with concrete filler. Allow to cure fully overnight is ideal.
- Vacuum the entire floor twice. Any debris left behind will be embedded permanently.
- Mask edges with painter’s tape along walls, door frames, and drains.
- Mix the epoxy carefully. Follow the exact ratio on the product. Mix slowly for the full recommended time, scraping sides and bottom. Once mixed, you have 20 to 40 minutes of working time.
- Cut in the edges with a brush, then immediately roll each section so the edges stay wet.
- Roll the floor starting from the far corner, working toward the exit. Maintain a wet edge at all times. If using decorative flakes, broadcast them into the wet surface at about 60cm height.
- Cure fully. Light foot traffic after 24 hours. No vehicles for at least 72 hours ideally one week.
One Coat or Two? For garage floors or anywhere vehicles or heavy equipment are used, two coats plus a clear urethane topcoat is strongly recommended. A single coat looks great initially but wears through much faster. The extra cost is minimal compared to redoing the job. |
Mistakes That Ruin The Job
Skipping surface prep: Applying epoxy to unground concrete is the single most common cause of failure.
Applying in the heat: SA summer temperatures shorten working time dramatically, causing bubbles and roller marks. Apply early in the morning when temperatures are below 25°C.
Ignoring moisture: A damp slab will cause the coating to lift. Always test before you apply.
Under-mixing: Soft spots and patchy curing result from inadequate mixing. Scrape the bucket sides and bottom throughout.
No topcoat: Without a clear urethane topcoat, the floor will scratch and dull within a couple of years.
How Long Will It Last?
Area | Lifespan | Key Note |
Residential garage | 7 – 12 years | Topcoat required; avoid tyre spin |
Laundry / utility room | 10 – 15 years | Light traffic; easy to maintain |
Workshop / shed | 5 – 10 years | Depends on chemical exposure |
Outdoor patio | 5 – 8 years | UV-stable topcoat essential |
These estimates assume proper prep, quality products, and a topcoat. Skipping the topcoat cuts lifespan by 30 to 50 percent.
When To Call A Professional
DIY epoxy is great for most residential jobs but call in a professional if you have significant moisture issues, a floor larger than 100 square metres, a previously failed epoxy flooring, or if you want a metallic or decorative resin finish.
Not Sure Where to Start? Aussie Painters SA Can Help. Whether you want expert advice on your DIY project or prefer the job handled professionally from the beginning, our team is ready to help. We have been delivering quality painting and flooring results across South Australia for years and we are happy to point you in the right direction even if you plan to go it alone. |